
Are you ready to take your culinary skills to the next level? Cooking a turkey might seem daunting, but fear not! With the right techniques and a little know-how, you can create a mouthwatering turkey that will impress your family and friends. In this comprehensive guide, we’ll walk you through the entire process of cooking a turkey from start to finish. Get your apron on and let’s get cooking!
Table of Contents
- Preparation
- Brining: The Secret to Juicy Turkey
- Seasoning: Adding Flavor to Your Turkey
- Roasting: The Cooking Process
- Basting: Keeping the Turkey Moist
- Resting: Letting the Turkey Shine
- Carving: Presentation is Key
- Serving: Enjoying Your Masterpiece
- FAQs
- Conclusion
Preparation
Before you embark on your turkey-cooking journey, it’s essential to make sure you have all the necessary ingredients and equipment. Here’s a checklist to help you get started:
| Ingredients | Equipment |
|---|---|
|
|
Once you have everything you need, it’s time to dive into the process of cooking a turkey!
Brining: The Secret to Juicy Turkey
Brining is a game-changer when it comes to cooking a turkey. It involves soaking the turkey
in a saltwater solution to enhance its flavor and juiciness. Here’s a simple brine recipe to get you started:
“In a large pot, combine 1 gallon of water, 1 cup of salt, and 1 cup of sugar. Stir until the salt and sugar dissolve completely. Submerge the turkey in the brine, making sure it’s fully covered. Refrigerate for at least 12 hours, but ideally, aim for 24 hours for maximum flavor penetration.”
Brining works by allowing the turkey to absorb moisture, resulting in a juicier bird. The salt in the brine also helps to break down proteins, making the meat more tender. Don’t forget to rinse the turkey thoroughly after brining to remove any excess salt before proceeding to the next step.
Seasoning: Adding Flavor to Your Turkey
Seasoning your turkey is where you can get creative and add your own personal touch. Here’s a simple herb and spice rub that works wonders:
“In a small bowl, combine 2 tablespoons of softened butter with your choice of herbs and spices. Popular options include rosemary, thyme, sage, garlic powder, onion powder, and paprika. Mix well to create a paste. Gently loosen the turkey’s skin and spread the herb and spice mixture evenly under the skin and over the surface of the turkey. This will infuse the meat with incredible flavor as it roasts.”
Remember to season both the inside and outside of the turkey for optimal flavor. Don’t be afraid to experiment with different herbs and spices to suit your taste preferences. Once seasoned, allow the turkey to sit at room temperature for about an hour to let the flavors meld before roasting.
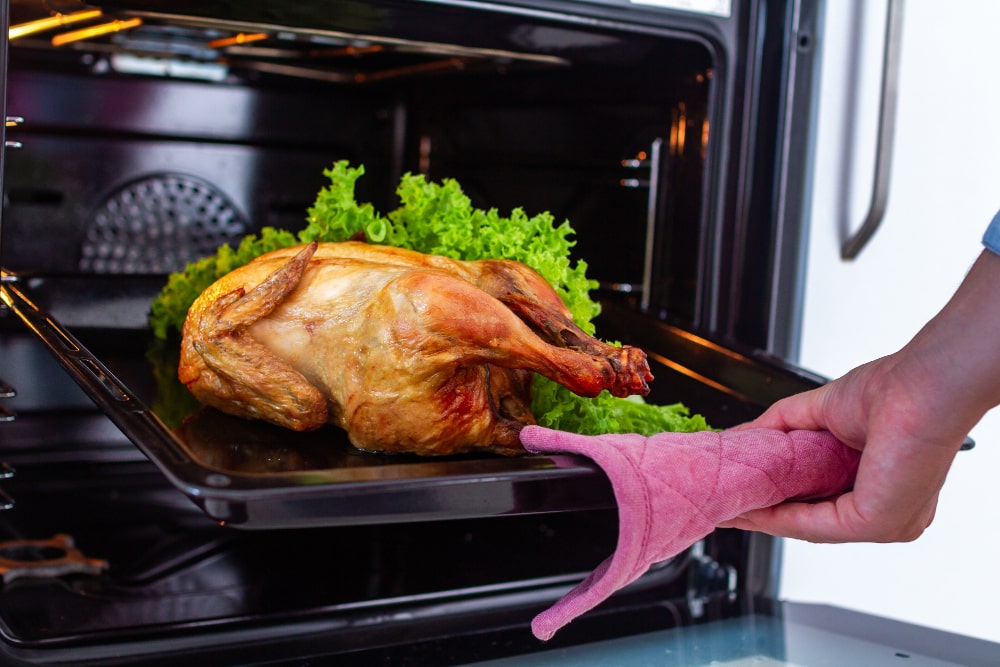
Roasting: The Cooking Process
Roasting a turkey is the main event. It’s important to ensure that the turkey cooks evenly and reaches a safe internal temperature. Follow these steps for a perfectly roasted turkey:
- Preheat your oven to 325°F (165°C).
- Place the turkey on a rack inside a roasting pan, breast side up.
- Cover the turkey loosely with aluminum foil.
- Calculate the cooking time based on the weight of your turkey. A general rule of thumb is to roast for 13 minutes per pound (30 minutes per kilogram).
- Insert a meat thermometer into the thickest part of the thigh without touching the bone. The turkey is done when the thermometer registers 165°F (74°C).
- Remove the foil during the last 30 minutes of cooking to allow the skin to brown and crisp up.
Remember to baste the turkey every 30 minutes with pan drippings to keep it moist and flavorful. Once the turkey reaches the desired temperature, remove it from the oven and let it rest before carving.
Basting: Keeping the Turkey Moist
Basting is an essential step in the turkey-cooking process. It involves drizzling pan drippings over the turkey during the roasting process to prevent it from drying out. Here are some basting tips to keep in mind:
- Use a baster or spoon to collect the pan drippings.
- Open the oven door quickly and baste the turkey, keeping the oven temperature as stable as possible.
- Be generous with the basting liquid, making sure to coat the entire surface of the turkey.
Basting not only adds moisture but also enhances the flavor of the turkey. The pan drippings contain all the delicious juices and flavors that will elevate your turkey to new heights.
Resting: Letting the Turkey Shine
Resting the turkey after it’s done cooking is a crucial step that shouldn’t be overlooked. Allow the turkey to rest for at least 20-30 minutes before carving. Resting allows the juices to redistribute throughout the meat, resulting in a more tender and flavorful turkey. Here’s why resting is important:
Resting allows the turkey to retain its juices, preventing them from spilling out onto the cutting board. This ensures that each slice of turkey is moist and delicious.
During the resting period, cover the turkey loosely with aluminum foil to keep it warm. Use this time to prepare any side dishes or gravy that will accompany your turkey masterpiece.
Carving: Presentation is Key
Carving a turkey can be intimidating, but with a little practice, you’ll become a pro. Follow these steps to carve your turkey like a seasoned chef:
- Place the rested turkey on a carving board or platter.
- Remove the twine or any trussing holding the turkey together.
- Starting with the legs, gently pull them away from the body until the hip joint pops out. Cut through the joint to separate the leg from the turkey.
- Remove the wings by cutting through the joints where they meet the body.
- Next, separate the breast from the backbone. Make a long vertical cut along one side of the breastbone, then slide your knife horizontally under the breast, separating it from the bone.
- Slice the breast meat into thin, even slices. Repeat the same process on the other side.
- Arrange the carved turkey on a serving platter and garnish with herbs or citrus slices for an elegant touch.
Remember, presentation is key, so take your time and arrange the slices beautifully. Your guests will be impressed by your carving skills!
Serving: Enjoying Your Masterpiece
Finally, it’s time to enjoy the fruits of your labor. Serving a turkey is a joyous occasion, and here are some tips to make it even more memorable:
- Accompany your turkey with delicious side dishes such as stuffing, mashed potatoes, cranberry sauce, and roasted vegetables.
- Offer a variety of sauces and gravies to complement the flavors of the turkey.
- Don’t forget about the leftovers! Turkey sandwiches and soups are a delightful way to enjoy the remaining turkey.
Savor every bite and relish in the compliments you’ll receive for your deliciously cooked turkey. Cooking a turkey is an art, and you’ve mastered it!
FAQs
Q: How long should I brine my turkey?
A: Aim to brine your turkey for at least 12 hours, but if time permits, 24 hours will result in maximum flavor and juiciness.
Q: Can I stuff my turkey before
roasting?
A: It’s generally recommended to cook stuffing separately from the turkey to ensure proper cooking temperatures and reduce the risk of foodborne illness. However, if you choose to stuff your turkey, make sure the stuffing reaches an internal temperature of 165°F (74°C).
Q: Should I roast my turkey breast side up or down?
A: Roasting the turkey breast side up is the most common method. This allows the turkey’s skin to brown and crisp while the juices flow down into the breast meat, keeping it moist and flavorful.
Q: How do I know when my turkey is done?
A: Use a meat thermometer to check the internal temperature of the thickest part of the thigh. The turkey is safe to eat when the thermometer reads 165°F (74°C). Make sure not to touch the bone with the thermometer, as it can give a false reading.
Q: Can I use a frozen turkey?
A: Yes, you can use a frozen turkey, but it’s important to thaw it properly before cooking. Thawing in the refrigerator is the safest method, allowing approximately 24 hours of thawing time for every 4-5 pounds of turkey.
Q: How should I store leftover turkey?
A: Store leftover turkey in airtight containers or wrap it tightly with aluminum foil or plastic wrap. Keep it in the refrigerator and consume within 3-4 days. Alternatively, you can freeze the turkey for up to 3 months.
Conclusion
Congratulations! You’ve now become a turkey-cooking expert. With the knowledge and tips shared in this ultimate guide, you can confidently prepare and cook a delicious turkey that will impress everyone at your table. From brining to carving, each step is crucial in creating a succulent and flavorful turkey. So gather your ingredients, follow the instructions, and enjoy the delightful experience of cooking a turkey to perfection.
Remember, the secret ingredient to a great turkey is passion and love for cooking. Embrace the process, make it your own, and create unforgettable culinary memories. Happy cooking!
Share this article with your friends and explore more how-to guides and knowledge at markantony.org!