
Welcome to markantony.org, your ultimate destination for how-to guides and unlocking knowledge. In this comprehensive article, we will delve into the topic of removing acrylic nails. Whether you’re a professional nail technician or someone who loves experimenting with different nail designs, knowing the proper techniques to remove acrylic nails is essential to maintain healthy and beautiful nails. So, let’s dive right in and discover the best methods and tips to safely remove acrylic nails without causing any damage or discomfort.
The Basics of Acrylic Nails
Before we jump into the removal process, let’s quickly touch upon what acrylic nails are. Acrylic nails are artificial nail extensions that are applied to your natural nails using a combination of liquid monomer and powder polymer. This mixture creates a strong and durable layer on top of your natural nails, providing length and durability.
Acrylic nails have become incredibly popular due to their versatility and the ability to create stunning designs. However, they require proper maintenance and eventual removal to ensure the health of your natural nails. Now, let’s explore various methods for removing acrylic nails effectively.
1. Soaking in Acetone
One of the most common and effective ways to remove acrylic nails is by soaking them in acetone. Acetone is a powerful solvent that helps break down the acrylic material, making it easier to remove. Here’s how you can do it:
- Gather the necessary supplies, including a bowl, acetone, cotton balls, aluminum foil, a cuticle pusher, and a nail file.
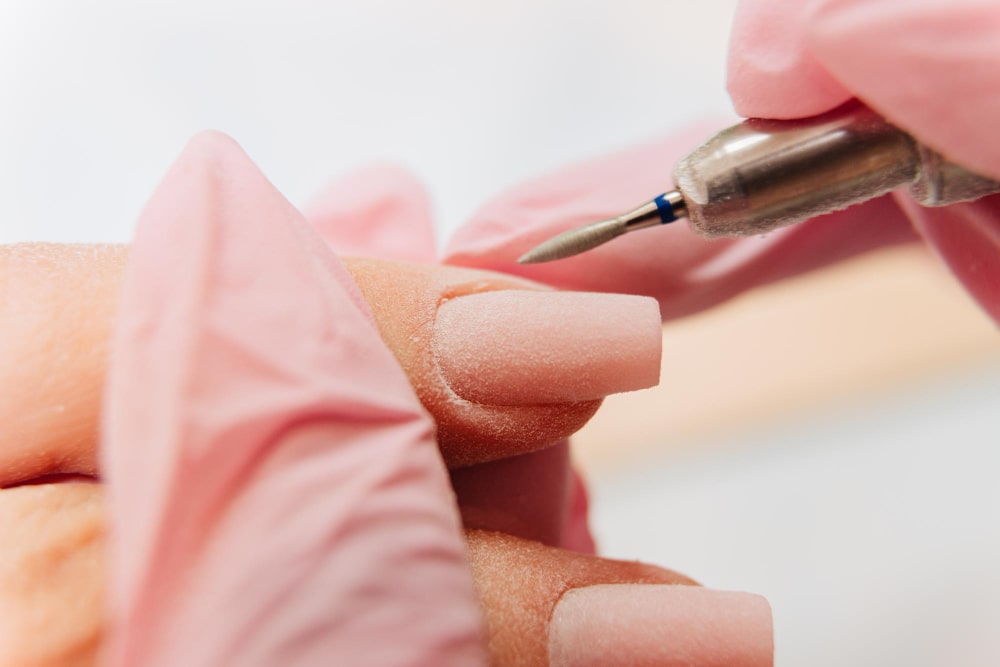
- Begin by filing the top layer of the acrylic nails to remove the shiny finish.
- Next, soak a cotton ball in acetone and place it directly on top of each nail.
- Wrap each finger with a small piece of aluminum foil to secure the cotton ball in place.
- Allow the nails to soak in acetone for about 15-20 minutes to soften the acrylic.
- Gently remove the foil and cotton balls, then use a cuticle pusher to gently push off the softened acrylic.
- File away any remaining residue and shape your natural nails as desired.
- Finish the process by moisturizing your hands and nails.
Remember, acetone can be drying to your skin and nails, so make sure to apply a moisturizer or cuticle oil after the process.
2. Using Dental Floss or Floss Picks
If you don’t have acetone readily available or prefer a non-chemical method, using dental floss or floss picks can be an effective alternative. Here’s how you can remove acrylic nails using this method:
- Start by gently lifting the edge of the acrylic nail with a cuticle stick or a nail file.
- Once you have a small gap between your natural nail and the acrylic, carefully slide a piece of dental floss or a floss pick through the gap.
- Gently saw back and forth using the floss to loosen the adhesive bond between the acrylic and your natural nail.
- Repeat this process for each nail until the acrylic nails are completely removed.
- Finish by moisturizing your nails and cuticles to prevent any dryness or damage.
This method may require some patience and a steady hand
, but it can be a viable option if you’re looking for a chemical-free approach.
3. Seeking Professional Help
If you’re unsure about removing acrylic nails yourself or find it challenging, it’s always a good idea to seek professional help. Nail salons and technicians have the expertise and experience to safely remove acrylic nails without causing any harm to your natural nails.
When opting for professional help, make sure to choose a reputable salon or technician who follows proper sanitization protocols and prioritizes the health and safety of their clients. Remember, your nails deserve the best care!
4. DIY Nail Removal Kits
In recent years, several DIY nail removal kits have become available in the market. These kits usually include all the necessary tools and instructions to remove acrylic nails at home. However, it’s crucial to read and follow the instructions carefully to avoid any mishaps or damage to your nails.
When purchasing a DIY nail removal kit, look for reputable brands and read reviews to ensure you’re getting a reliable product. Additionally, pay attention to the ingredients and make sure they are safe for your nails and skin.
Frequently Asked Questions (FAQs)
1. Can I remove acrylic nails without using acetone?
Yes, you can remove acrylic nails without using acetone. The dental floss method mentioned earlier is one such technique that doesn’t involve the use of acetone. However, it may require more patience and effort compared to using acetone.
2. Are there any risks associated with removing acrylic nails?
When done correctly, removing acrylic nails shouldn’t cause any significant risks. However, if you forcefully pry or peel off the acrylic nails, it can lead to damage to your natural nails, such as thinning, peeling, or breakage. It’s essential to be gentle and patient throughout the removal process to minimize any potential risks.
3. How long does it take to remove acrylic nails?
The time it takes to remove acrylic nails can vary depending on the method you choose and the thickness of the acrylic. Generally, it takes around 20-30 minutes to soak acrylic nails in acetone and remove them. DIY methods like the dental floss technique may take a bit longer, depending on your skill level.
4. Can I reuse acrylic nails?
Reusing acrylic nails is not recommended. Acrylic nails are designed for single-use only and may not adhere properly or provide the desired results if reused. It’s best to replace them with a fresh set if you wish to continue wearing acrylic nails.
5. How often should I remove and replace acrylic nails?
It’s generally recommended to remove and replace acrylic nails every 2-3 weeks. This timeframe allows your natural nails to breathe, preventing any potential damage or weakening. Additionally, regular maintenance and proper nail care during this period are crucial to keep your nails healthy and strong.
6. Are there any alternatives to acrylic nails?
Yes, if you prefer a temporary nail enhancement, there are alternatives to acrylic nails, such as gel nails, dip powder nails, or even press-on nails. These options offer a variety of designs and finishes while being easier to apply and remove compared to acrylic nails.
Conclusion
Removing acrylic nails is a straightforward process when done correctly and with proper care. Whether you choose the acetone soaking method, the dental floss technique, or opt for professional assistance, always
prioritize the health of your natural nails.
Remember to follow the instructions carefully, be patient, and take breaks if needed. If you’re unsure or uncomfortable performing the removal process yourself, it’s best to consult a professional nail technician.
Now that you’re equipped with the knowledge of removing acrylic nails, you can confidently explore various nail designs and styles without worrying about the removal process. Take care of your nails, express your creativity, and enjoy the journey of maintaining beautiful and healthy nails!
Don’t forget to share this informative guide with your friends and fellow nail enthusiasts. For more captivating how-to guides, tips, and unlocking knowledge, visit markantony.org, your ultimate destination for mastering skills!