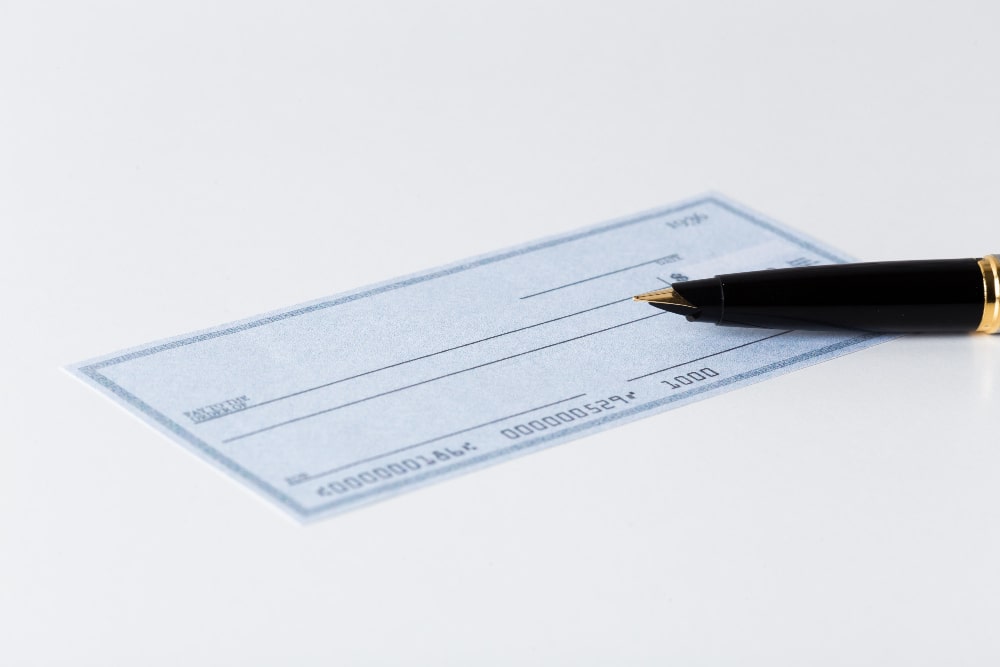
Welcome to MarkAntony.org, your go-to resource for valuable how-to guides and unlocking knowledge. In this article, we will delve into the art of writing a check. Whether you’re a beginner or looking to refresh your knowledge, this comprehensive guide will walk you through the process step by step. Writing a check may seem like a simple task, but it’s essential to get it right to avoid any confusion or errors. So, let’s dive in and master the skill of writing checks!
Table of Contents
- Understanding the Basics of Check Writing
- Gathering the Necessary Materials
- Filling Out the Date Field
- Writing the Payee’s Name
- Specifying the Check Amount in Numbers
- Writing the Check Amount in Words
- Adding a Memo
- Signing the Check
- Balancing Your Checkbook
- Understanding Check Security Features
- Common Mistakes to Avoid
- Check-Writing Etiquette and Best Practices
- Using Online Payment Alternatives
- FAQs
- Conclusion
Understanding the Basics of Check Writing
Before we dive into the nitty-gritty of writing a check, let’s take a moment to understand the basics. A check is a written document that allows you to transfer funds from your bank account to the payee’s account. It serves as a secure form of payment and provides a record of the transaction. Checks are widely accepted by businesses and individuals, making them a fundamental financial tool.
Writing a check involves several key elements, including the date, payee’s name, check amount (both in numbers and words), memo (optional), and your signature. Each component plays a vital role in ensuring the check is processed accurately and efficiently.
Gathering the Necessary Materials
Before you can begin writing a check, you’ll need to gather the necessary materials. Here’s a checklist of items you’ll need:
- A personal checkbook provided by your bank
- A pen or fine-tip marker
- A reliable source of light, if needed
Make sure you have a personal checkbook handy, as it contains the necessary information and fields to complete the check correctly.
Filling Out the Date Field
The date field on a check is crucial for
record-keeping and serves as a reference point for both you and the payee. To fill out the date field:
- Locate the date field in the upper right-hand corner of the check.
- Write the current date using the month, day, and year format (e.g., June 14, 2023).
- Ensure the date is legible and written in permanent ink to prevent alterations.
Writing the date accurately ensures the check is valid and avoids any confusion regarding when the payment was issued.
Writing the Payee’s Name
The payee’s name is the individual or entity to whom you’re making the payment. To fill out the payee’s name field:
- Locate the “Pay to the Order of” line on the check.
- Write the full name of the person or company you’re paying.
- Ensure the name is spelled correctly and matches the recipient’s official records.
Accurately writing the payee’s name prevents any confusion or potential issues when depositing or cashing the check.
Specifying the Check Amount in Numbers
Writing the check amount in numbers is an important step to ensure clarity and accuracy. Here’s how to specify the check amount in numbers:
- Locate the box next to or below the payee’s name.
- Write the check amount numerically, using both dollars and cents (e.g., $50.00).
- Double-check the amount for any errors or omissions.
Writing the check amount in numbers provides a clear indication of the payment value and helps prevent any potential disputes or misunderstandings.
Writing the Check Amount in Words
In addition to writing the check amount in numbers, it’s essential to express the amount in words to provide an extra layer of clarity. Follow these steps to write the check amount in words:
- Locate the long line below the payee’s name or on a designated line for “Amount.”
- Write the check amount in words, using proper capitalization and spelling (e.g., Fifty dollars and 00/100).
- Ensure the amount in words matches the numerical representation on the check.
Writing the check amount in words helps eliminate any ambiguity and provides an additional reference for the payee and financial institutions.
Adding a Memo
Though optional, adding a memo on the memo line of the check can provide helpful information for both you and the payee. To add a memo:
- Locate the memo line, usually found in the bottom left-hand corner of the check.
- Write a brief note or description related to the payment purpose (e.g., “Birthday gift,” “Invoice #123,” or “Rent for June”).
- Keep the memo concise and informative, avoiding sensitive or personal information.
Adding a memo can help you remember the purpose of the payment and provide the payee with additional context.
Signing the Check
Your signature serves as a crucial element of a
valid check and confirms your authorization for the payment. To sign the check:
- Locate the signature line, typically found in the bottom right-hand corner of the check.
- Sign your name using a consistent and legible signature.
- Ensure the signature matches the one on file with your bank.
Signing the check completes the payment authorization process and validates the document.
Balancing Your Checkbook
As you write checks, it’s essential to keep track of your transactions and maintain an accurate record of your finances. Balancing your checkbook helps you monitor your account balance and identify any discrepancies. Here’s how to balance your checkbook:
- Record each check you write in your checkbook register, including the date, payee, and check amount.
- Update your account balance by subtracting the check amount from the previous balance.
- Compare your checkbook register with your bank statements to ensure they align.
- Make any necessary adjustments for fees, deposits, or other transactions.
Balancing your checkbook regularly provides a clear overview of your finances and helps you avoid overdrawing your account.
Understanding Check Security Features
Checks are equipped with various security features to protect against fraud and unauthorized use. Understanding these features can help you verify the authenticity of a check and avoid accepting counterfeit ones. Here are some common check security features:
| Security Feature | Description |
|---|---|
| Watermark | A faint design or pattern visible when held up to light, indicating authenticity. |
| Microprinting | Small, intricate text or lines that are difficult to replicate accurately. |
| Security Thread | A thin, embedded strip that is visible when held up to light, often containing text or a design. |
| Chemical Reactive Paper | Paper that changes color or produces a stain when exposed to certain chemicals. |
| Heat-Sensitive Ink | Ink that changes color or disappears when exposed to heat, indicating tampering attempts. |
By familiarizing yourself with these security features, you can quickly identify potential fraudulent checks and protect your financial interests.
Common Mistakes to Avoid
When writing a check, it’s crucial to be diligent and avoid common mistakes that can lead to confusion or errors. Here are some common mistakes to steer clear of:
- Using a pencil or erasable ink, which can be easily altered or erased.
- Leaving any fields blank, as this can lead to unauthorized modifications.
- Using outdated or discontinued check designs, which may not be accepted by financial institutions.
- Forgetting to record the transaction in your checkbook register, leading to discrepancies in your balance.
Avoiding these mistakes ensures the integrity of your checks and smooth processing of payments.
Check-Writing Etiquette and Best Practices
While writing a check may seem straightforward, it’s essential to follow proper check-writing etiquette and adhere to best practices. Here are some tips to keep in mind:
- Write legibly and use permanent ink to ensure readability and prevent alterations.
- Avoid using abbreviations or nicknames when writing the payee’s name, opting for their full legal name.
- Keep your checks in a secure location to prevent unauthorized use or loss.
- Reconcile your bank statements promptly and report any discrepancies to your bank.
Following these etiquette guidelines and best practices contributes to a smooth and efficient check-writing experience.
Using Online Payment Alternatives
In today’s digital age, online payment alternatives have gained popularity and provide convenient and secure options for transferring funds. While checks remain a widely accepted form of payment, it’s worth exploring online payment alternatives, such as:
- Electronic Funds Transfer (EFT): A secure way to transfer funds electronically between bank accounts.
- Online Bill Payment: A feature offered by banks and financial institutions that allows you to pay bills electronically.
- Peer-to-Peer Payment Apps: Mobile applications that enable seamless money transfers between individuals.
These alternatives offer speed, convenience, and often additional features for tracking your payments and managing your finances.
FAQs
1. Can I use a pencil to write a check?
No, it’s best to use permanent ink, such as a pen or fine-tip marker, to write a check. Pencil markings can be easily altered or erased, compromising the integrity of the check.
2. What should I do if I make a mistake while writing a check?
If you make a mistake while writing a check, it’s best to void the check and start afresh. Write “VOID” across the check in large, bold letters and keep it for your records.
3. Can I write a check if I don’t have sufficient funds in my account?
No, writing a check without sufficient funds in your account can lead to an overdraft, penalties, or even legal consequences. It’s important to ensure you have enough funds to cover the check amount before writing it.
4. How long is a check valid?
In the United States, a check is typically valid for six months from the date it was issued. However, it’s always best to cash or deposit a check as soon as possible to avoid any potential issues.
5. Can I postdate a check?
Yes, you can postdate a check by writing a future date on it. However, it’s important to communicate the postdated check to the payee to prevent any misunderstandings or premature depositing.
6. Are there any fees associated with writing checks?
Many banks offer free check writing as part of their services. However, it’s essential to review your bank’s account terms and conditions to understand any potential fees associated with check writing or account maintenance.
Conclusion
Mastering the art of writing a check is a valuable skill that ensures secure and efficient financial transactions. By following the step-by-step process outlined in this
guide, you can confidently write checks while avoiding common mistakes and adhering to best practices.
Remember to gather the necessary materials, fill out each field accurately, and sign the check before submitting it as payment. Balancing your checkbook and staying aware of check security features further enhance your financial management skills.
While online payment alternatives offer convenience, checks remain a trusted and widely accepted form of payment. By combining traditional check writing with modern financial tools, you can navigate the world of personal finance with confidence.
We hope this comprehensive guide has empowered you to write checks effectively and efficiently. Now go forth and confidently tackle your financial obligations!
Don’t forget to share this article with your friends and return to MarkAntony.org for more valuable how-to guides and unlocking knowledge.

