
Welcome to this comprehensive guide on how to draw eyes! Whether you are an aspiring artist or simply interested in improving your drawing skills, mastering the art of drawing eyes is a crucial step in creating lifelike and expressive portraits. In this article, we will delve into the intricate details of drawing eyes, exploring various techniques, tips, and tricks that will help you bring your drawings to life.
Understanding the Anatomy of Eyes
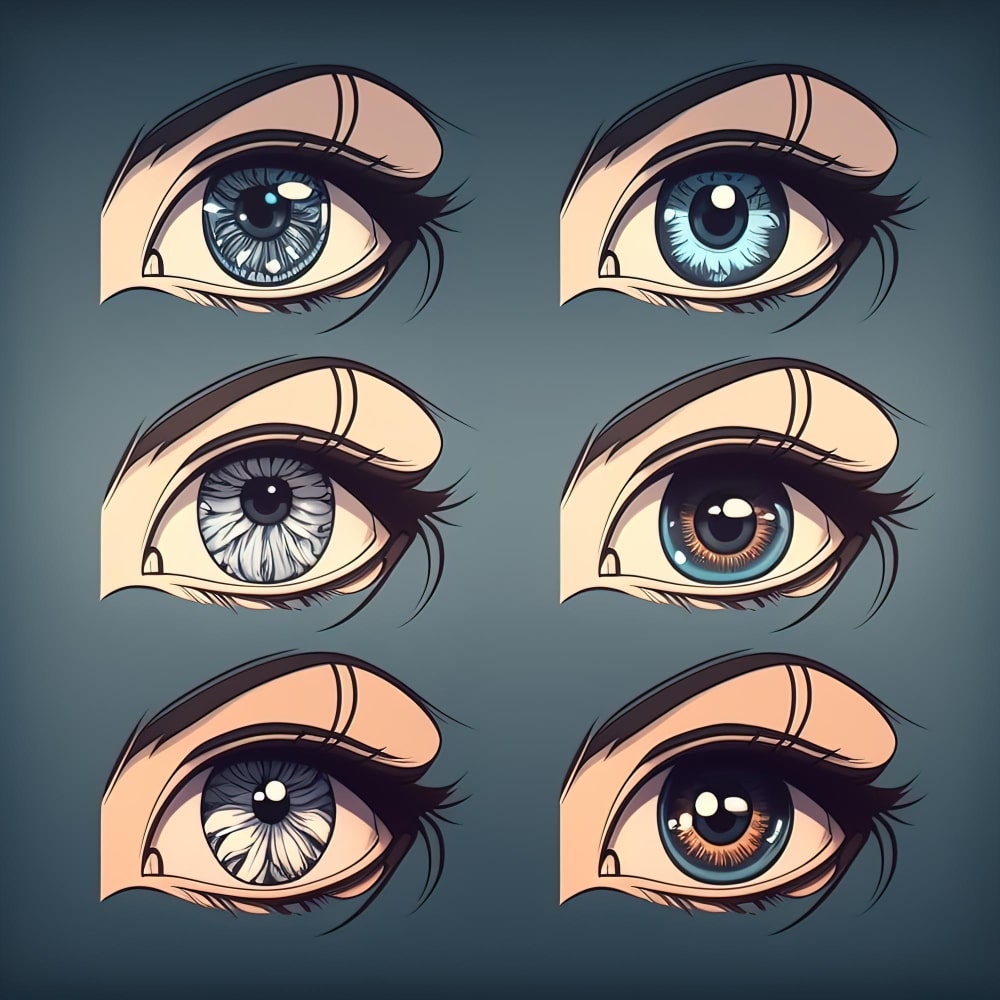
Before diving into the process of drawing eyes, it’s essential to familiarize yourself with the intricate anatomy of this captivating feature. The human eye consists of several components, including the iris, pupil, sclera, eyelids, lashes, and more. By understanding the structure and proportions of these elements, you will be better equipped to create realistic eye drawings that capture the essence of your subject. Let’s explore each component in detail.
Iris and Pupil: The Window to the Soul
The iris, often referred to as the colored part of the eye, plays a crucial role in expressing emotions. Its unique patterns and hues make each person’s eyes truly unique. When drawing eyes, pay attention to the size and shape of the iris, as well as the position and dilation of the pupil. These details can convey different moods and add depth to your artwork.
Sclera: The White Canvas
The sclera, or the white part of the eye, provides the backdrop for the iris and pupil. While it may seem simple at first glance, the sclera’s shading and texture can significantly impact the realism of your eye drawings. Use subtle variations of color and value to bring depth and dimension to this area.
Eyelids: Adding Depth and Emotion
The eyelids play a vital role in shaping the overall appearance of the eye. They help define the eye’s contour, control the amount of light entering the eye, and convey various emotions. When drawing eyelids, observe the curvature, creases, and thickness. Pay attention to the eyelashes as well, as they can enhance the expressiveness of the eye.
Materials and Tools for Drawing Eyes
To begin your artistic journey into drawing eyes, you will need a few essential materials and tools. Here’s a list of items you should consider having in your art arsenal:
| Materials | Tools |
|---|---|
| Pencil set (ranging from HB to 6B) | Graphite eraser |
| Drawing paper or sketchbook | Kneaded eraser |
| Blending stumps or tortillons | Fineliner pens |
| Colored pencils or markers (optional) | Small brushes |
With these materials and tools at your disposal, you’re ready to embark on your eye-drawing adventure. Now, let’s dive into the step-by-step process of creating realistic and captivating eyes.
Step-by-Step Guide: How to Draw Eyes
Step 1:
Start with Basic Shapes
Every complex drawing begins with simple shapes. Begin by lightly sketching the basic outline of the eye using circles or ovals. This serves as a foundation for capturing the overall structure and proportions of the eye. Don’t worry about details just yet—focus on getting the shape and position right.
Step 2: Define the Iris and Pupil
Once you have the basic shape, it’s time to add the iris and pupil. Observe your reference or subject and carefully draw the iris, paying attention to its size, shape, and position within the eye. Remember, the iris is not a perfect circle, but rather a slightly irregular shape. Add the pupil, considering its dilation and the lighting conditions in your reference.
Step 3: Add Life with Shading and Highlights
Shading plays a vital role in creating depth and realism in your eye drawings. Observe the reference closely and identify areas of shadow and light. Use a range of pencils, from lighter to darker shades, to gradually build up the values. Pay attention to the reflections and highlights on the iris and the glossy appearance of the eye.
Step 4: Detail the Eyelids and Eyelashes
The eyelids and eyelashes add character and expressiveness to the eye. Observe the unique curves and thickness of the eyelids, then carefully sketch them, taking into account any folds or creases. Add depth by shading the areas where the eyelids cast shadows. When drawing eyelashes, use fine lines to create a natural look, varying their length and thickness.
Step 5: Refine and Blend
After laying down the initial details, take a step back and assess your drawing. Look for any areas that require refinement or adjustments in proportion. Use a blending stump or tortillon to gently blend and smoothen the shading, creating a seamless transition between light and dark areas. This technique enhances realism and softens harsh pencil lines.
Step 6: Add Final Touches and Details
To elevate your eye drawing to the next level, focus on adding subtle details that enhance realism. Pay attention to small features such as blood vessels on the sclera, the texture of the skin around the eyes, and reflections on the iris. Use a combination of fine-tipped pens, colored pencils, or markers to refine these intricate elements.
Tips and Tricks for Drawing Eyes
Tip 1: Study Different Eye Shapes
Eyes come in various shapes and sizes, each with its unique characteristics. Take the time to study and practice drawing different eye shapes, including almond-shaped, round, hooded, or wide-set eyes. This exploration will broaden your skills and help you capture a wider range of subjects accurately.
Tip 2: Utilize References and Observational Drawing
References are invaluable resources for artists. Collect photographs, paintings, or even observe eyes in real life to understand the intricacies of this feature. Pay attention to light and shadow, reflections, and the interaction between different eye elements. Observational drawing allows you to study and replicate these details more effectively.
Tip 3: Practice Value and Contrast
Mastering shading and achieving a balance of value and contrast is crucial for creating realistic eye drawings. Experiment with different pencil pressures and shading techniques to achieve smooth transitions from light to dark. Strive for a wide range of values to bring
depth and dimension to your artwork.
Tip 4: Focus on Expressions and Emotions
Eyes are a powerful tool for conveying emotions and expressions. Experiment with different eye positions, eyelid shapes, and iris sizes to capture specific moods. Whether it’s joy, sadness, surprise, or determination, understanding how these elements interact will enable you to create more impactful and evocative eye drawings.
Tip 5: Seek Feedback and Learn from Others
Artistic growth often thrives in a community. Share your eye drawings with fellow artists, seek constructive feedback, and learn from their experiences. Join online art communities, attend workshops or classes, and absorb knowledge from experts in the field. Embrace the opportunity to continually improve your skills through collaboration and feedback.
Frequently Asked Questions (FAQs)
FAQ 1: What are some common mistakes to avoid when drawing eyes?
Avoiding common mistakes is essential for creating realistic eye drawings. Some common errors include misplacement of the iris, overemphasizing eyelashes, neglecting the subtle variations in iris color, and failing to capture accurate proportions. Regular practice, observation, and careful attention to details will help you overcome these challenges.
FAQ 2: Can I draw eyes without a reference?
While using a reference is highly recommended, experienced artists may choose to draw eyes from imagination. However, even in these cases, a solid understanding of eye anatomy and years of practice play a crucial role in accurately capturing the essence of eyes. References provide valuable guidance and ensure accuracy in your drawings.
FAQ 3: How can I add a sense of depth to my eye drawings?
To create a sense of depth, focus on shading and contrast. Pay attention to the interplay of light and shadow, using lighter shades for areas that catch the light and gradually transitioning to darker tones. Additionally, shading the eyelids and adding highlights to the iris can enhance the three-dimensional quality of your eye drawings.
FAQ 4: Are there any specific techniques for drawing eyelashes?
When drawing eyelashes, use short, overlapping lines to create a natural appearance. Vary the length and thickness of the lashes, making them shorter towards the inner corners and longer towards the outer corners of the eyes. Take note of the direction in which the lashes curve and flow, following the natural growth pattern.
FAQ 5: How long does it take to become proficient at drawing eyes?
The time required to become proficient at drawing eyes varies from person to person. It depends on factors such as dedication, practice frequency, and prior artistic experience. Consistent practice, along with a willingness to experiment and learn from mistakes, will significantly accelerate your progress. Enjoy the journey and embrace the learning process!
FAQ 6: Are there any additional resources or courses to enhance my eye-drawing skills?
Absolutely! The world of art offers a vast array of resources to help you enhance your eye-drawing skills. Consider exploring online tutorials, art books, workshops, or enrolling in a local art class. Websites like markantony.org provide valuable guidance and courses specifically tailored to aspiring artists. Continued learning and exposure to different techniques will fuel your growth as an artist.
Conclusion
Congratulations! You have reached the end of this extensive guide on how to draw eyes. We hope this article has provided you with valuable insights, techniques
, and inspiration to embark on your artistic journey. Remember, drawing eyes is a skill that requires practice, observation, and patience. So grab your pencils, gather your references, and unlock the captivating world of eye drawings. Enjoy the process and keep honing your skills!
Unlock the Power of Eye Drawings and Master Your Artistic Skills!
If you found this article helpful, why not share it with your fellow artists and creative enthusiasts? Help others unlock the knowledge and skills needed to draw realistic and expressive eyes. For more insightful guides and tutorials, visit markantony.org, your go-to resource for artistry and learning.